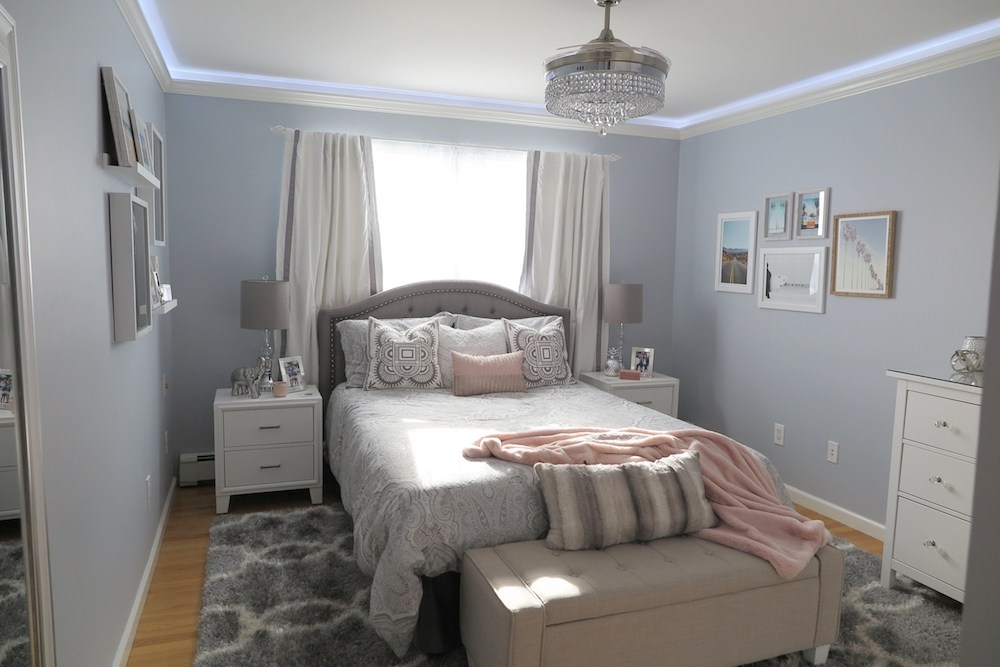
It’s been a while since my last blog post but I was really struggling with finding the time and choosing the topic.
That said I’ve decided to spend my train commute time writing in an effort to post at least once a week with updates of my journey.
This post is long overdue since my daughter’s room has been finished since late December but here goes!
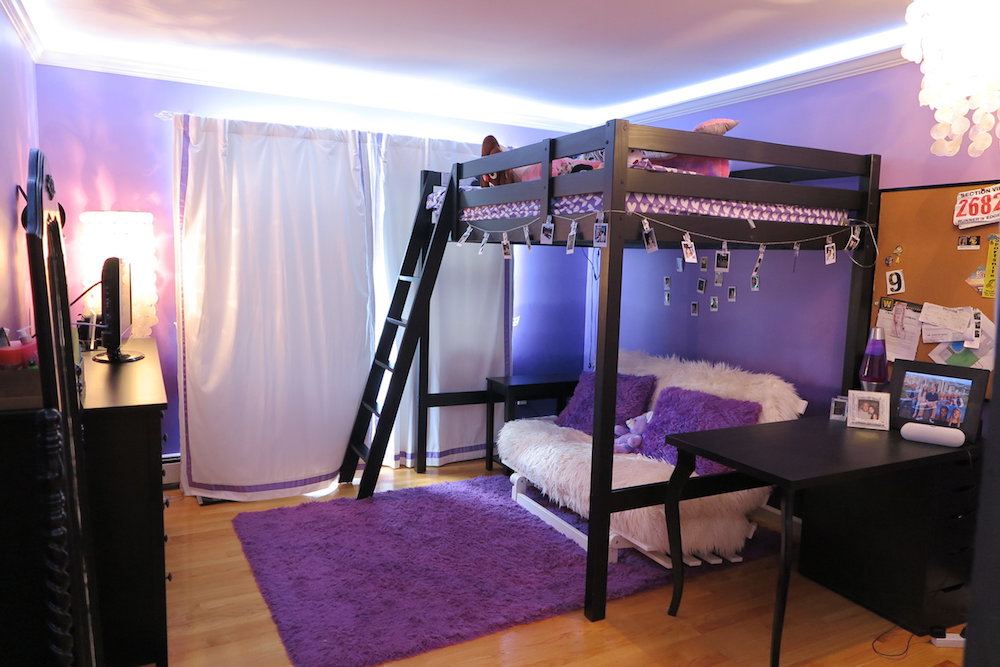
My daughter, Isabella, outgrew her love of purple moving onto a sophisticated gray color palette. This is the before picture of the room which was only completed two years ago ombre purple walls and all! I need to mention that I painted over the previous pink and crème stripe walls that had a pearlized finish over them.
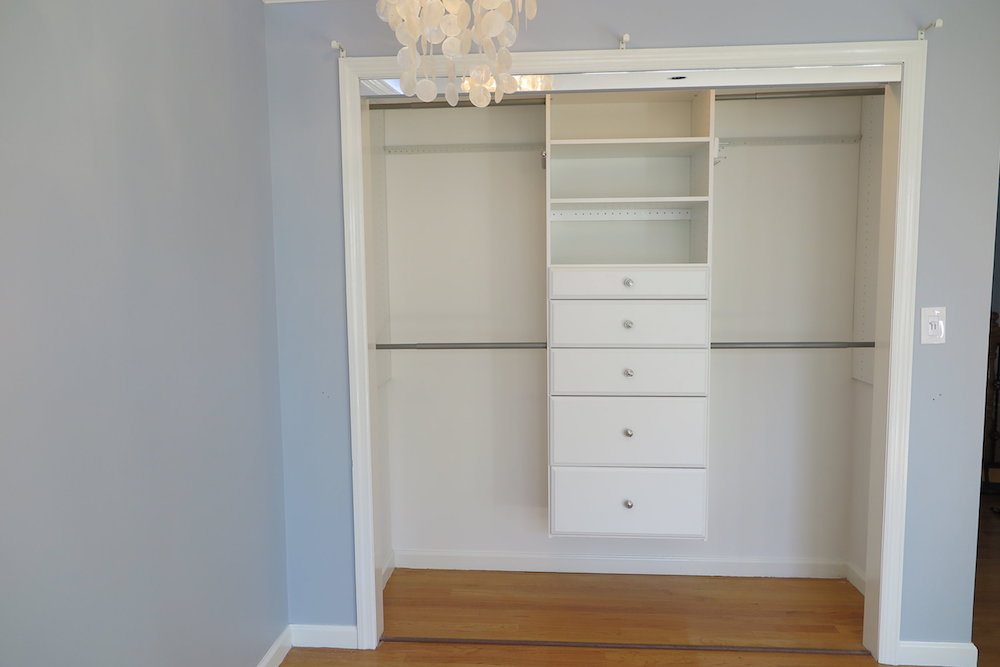
I was a bit obsessed with painting wall techniques for a while in case you didn’t notice. The stripe walls got a skim coat prior to the three shades of ombre purple. You will understand why I am mentioning the history of the walls later in this post. The only element of the previous design that stayed was the lighted crown molding feature and Martha Stewart Living closet organizer.
To get started the room was emptied of the mostly Ikea and Pottery Barn Teen furniture. I knew better than to spend a lot on that Stora loft bed because at thirteen I had a feeling climbing up there would get old fast, which it did! Not to mention we had to cut a foot off the bed because if not my daughter would have been kissing the ceiling every night lol.
Once emptied the next step was to remove all hardware, plate covers, nails, and screws. The closet was also emptied since I had painted that purple in the last room design. One thing I have learned from this process is to never paint the closet anything other than white unless you plan to repaint it every time you change the wall color!
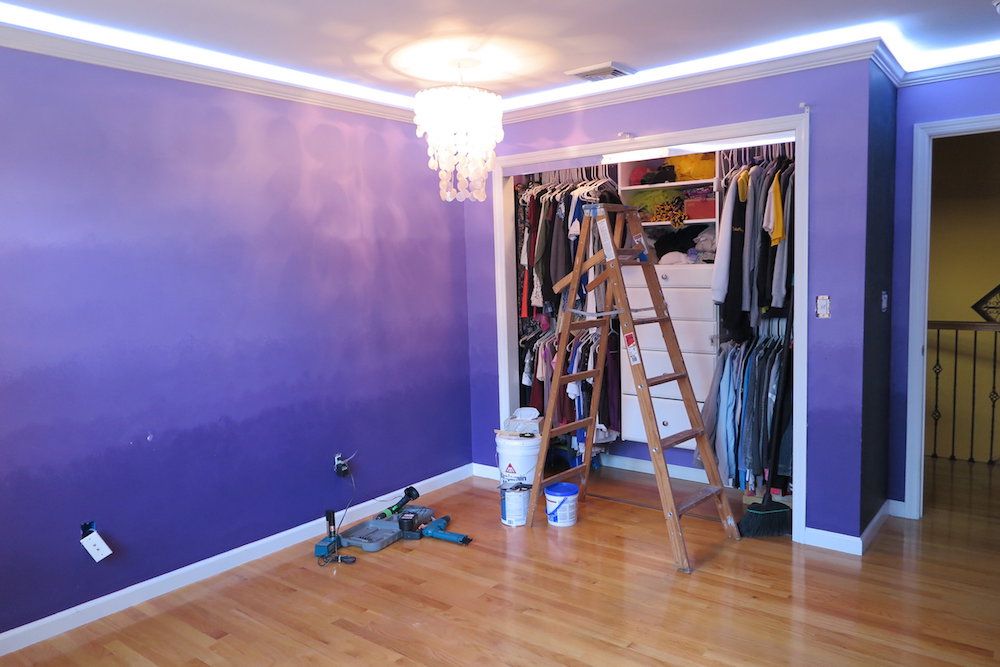
After everything was out it was time to patch up all the holes. Next time for the BM primer to go on. The progress was smooth up till this point. Once the first coat of gray paint went on however is where the drama began.
Remember all those techniques under the primer?! Right, that caused the wall to bubble.
Thinking it was just an imperfection I painted over it only for all three layers to peel away from the wall down to the brown layer of the sheetrock.

After some research on youtube, of course, I discovered Gardz Problem Surface Sealer. The walls were primed with this watery substance that created a seal over the damaged area. I applied this to the entire room to avoid any other areas that may become an issue.
Next, I applied a skim coat of spackle. After allowing this to dry 24hrs, I then sanded and wiped the walls of dust. I then applied the Gardz again over the spackled area, let that coat dry, and then applied another skim coat and went through the same process a second time.
The end result was a wall that I applied two coats of BM Metallic Gray 2132-60 to. This was the process that worked for me to fix the walls.
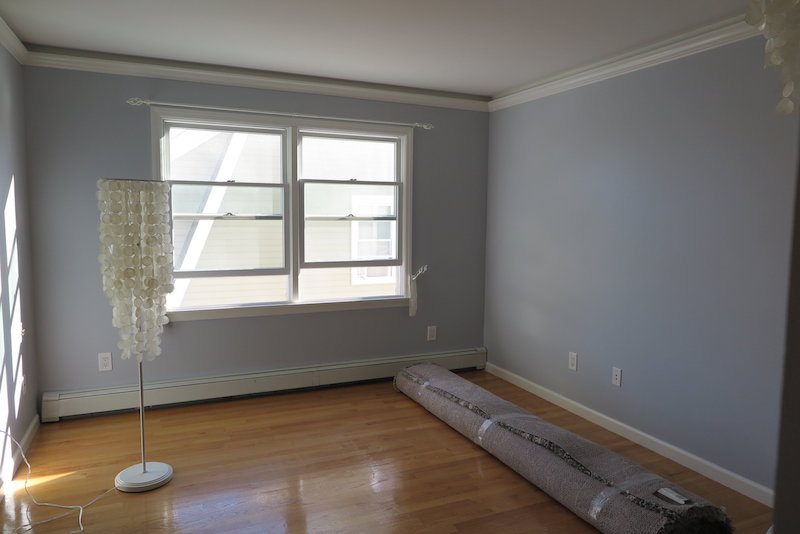
The next step was the furniture. I had already worked out the new floor plan layout and had my daughter sign off on it lol.
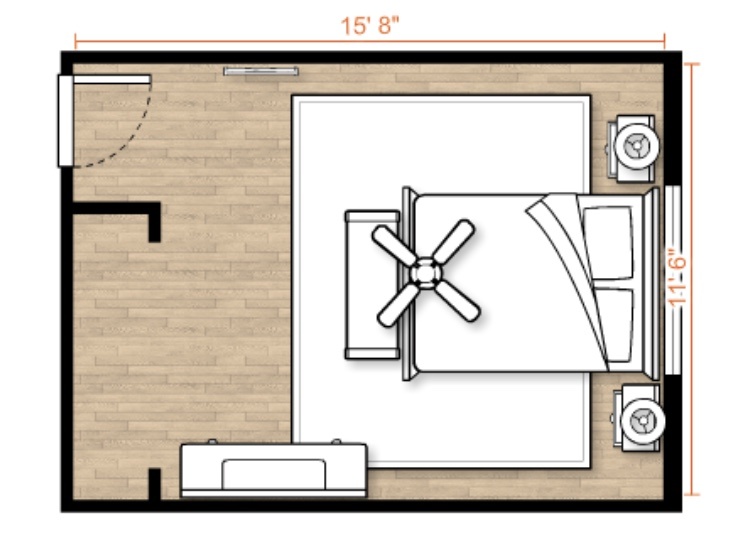
Since Bella will be off to college in three years, again I wasn’t investing a lot into this new room design. Most of the pieces were bought at my love HomeGoods.
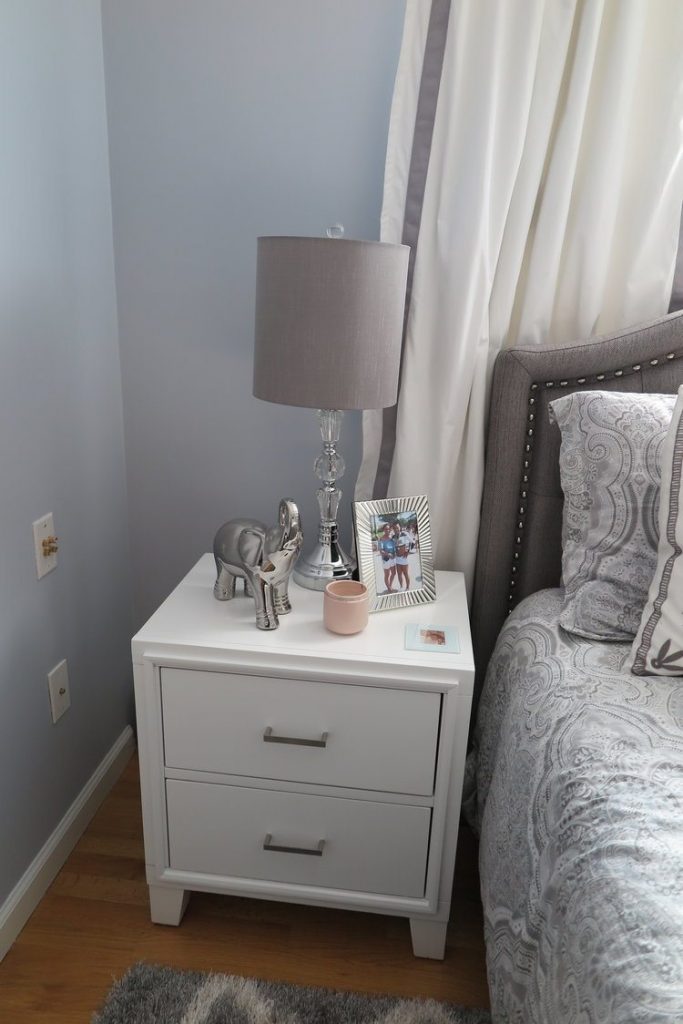
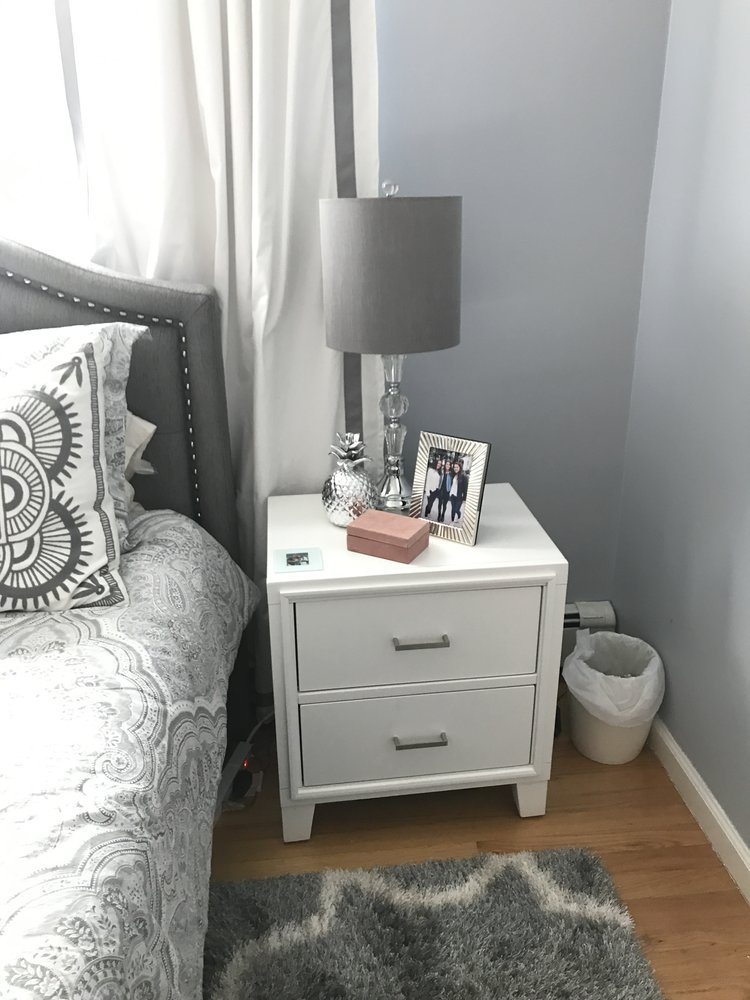
The nightstands are from Joss and Main.
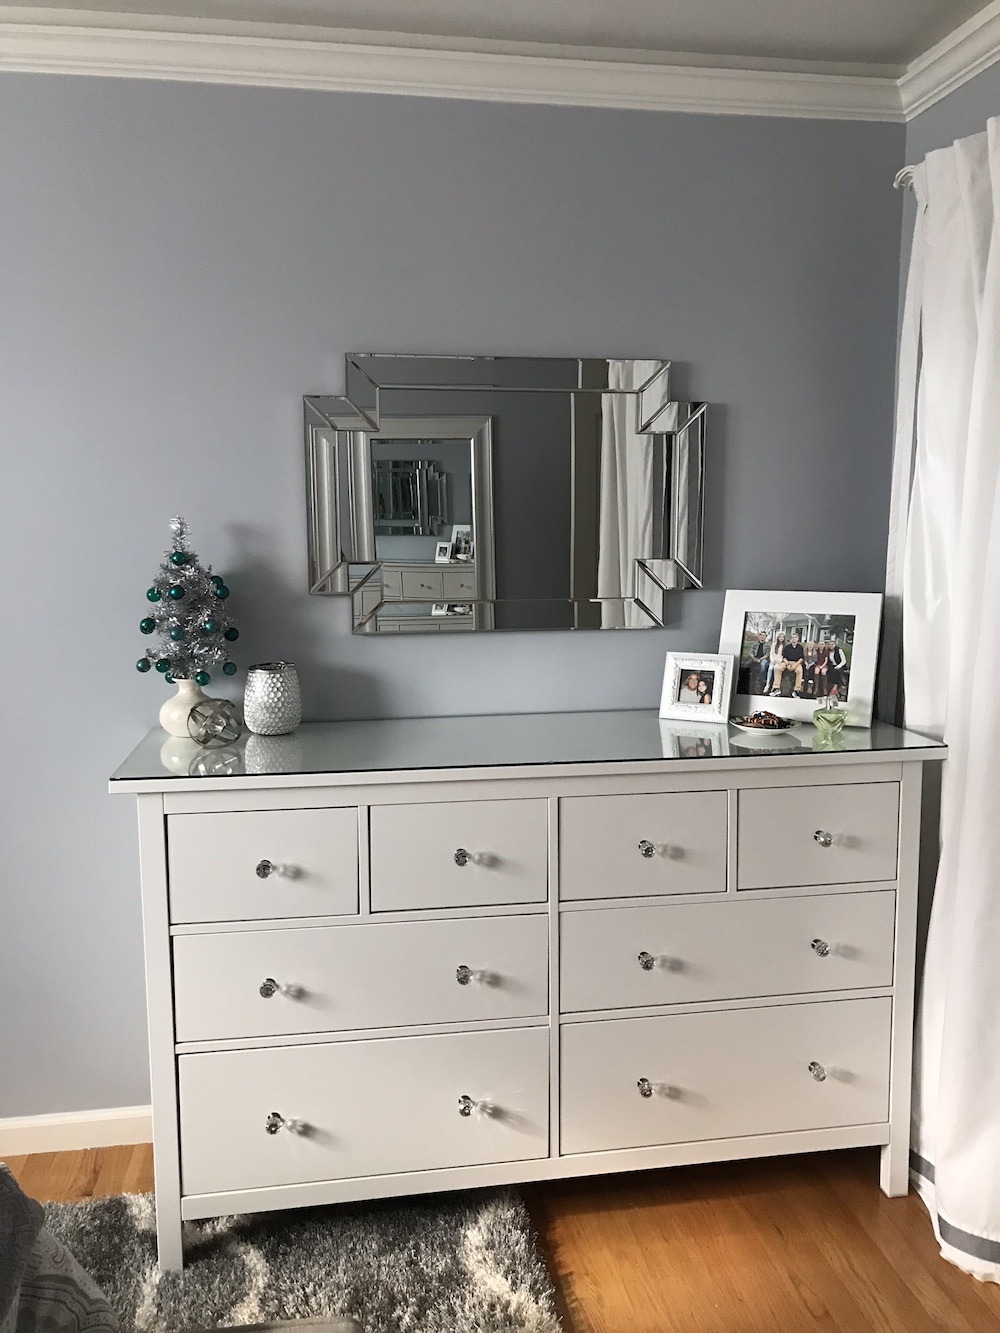
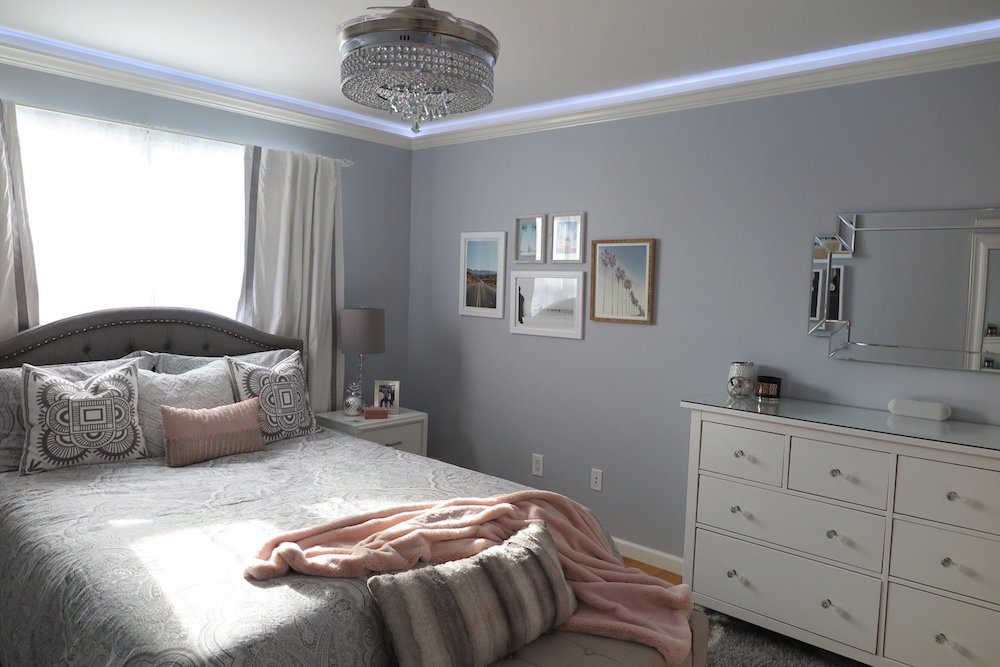
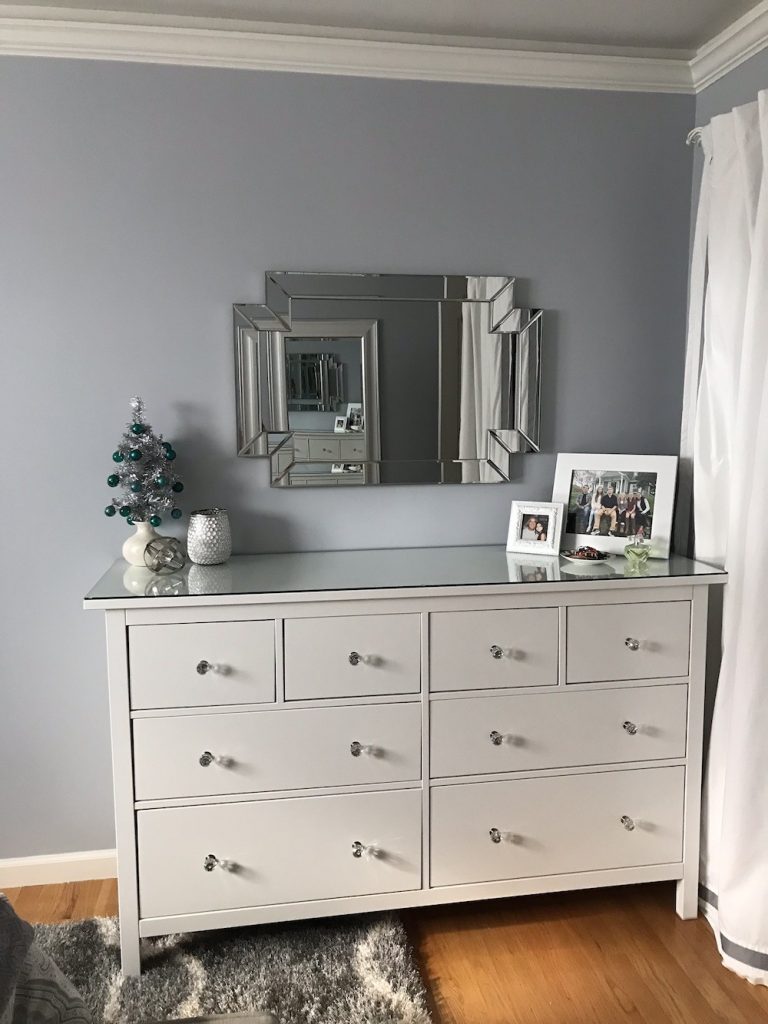
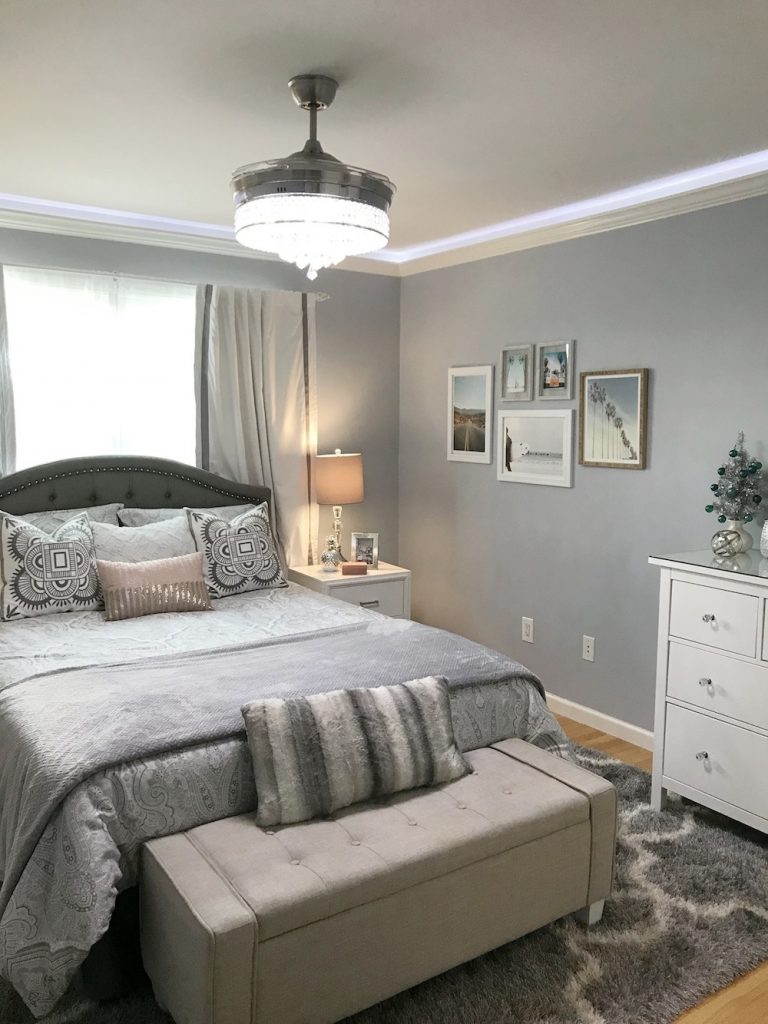
The dresser is a white version of the black one my daughter had from Ikea. I got the glass top to add on to protect it and changed the knobs to crystal ones from HomeGoods.
This helped to elevate the dresser from the Ikea look.
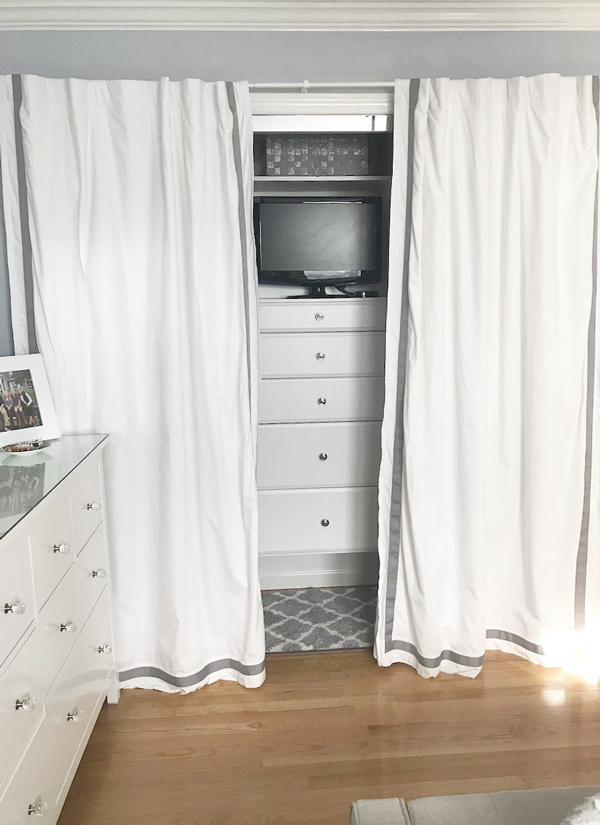
The drapes in the room are from Pottery Barn Teen, the same ones from the purple room design. I changed the trim from purple to gray by ordering grosgrain ribbon from Ribbon Retreat Warehouse (my go-to supplier when I was making Cheer Hair Bows).
I used Pellon Wonder Under Paper-Backed Fusible Web which I ironed onto the gray ribbon. I then pealed the paper liner off and ironed the gray ribbon over the existing purple ribbon.
Next, I sewed the ribbon down. It probably would have been fine with just the ironed ribbon but I like doing extra work and know-how to sew lol.
Putting to use all that Fashion Design training from my years at FIT and designing children’s clothes ; )
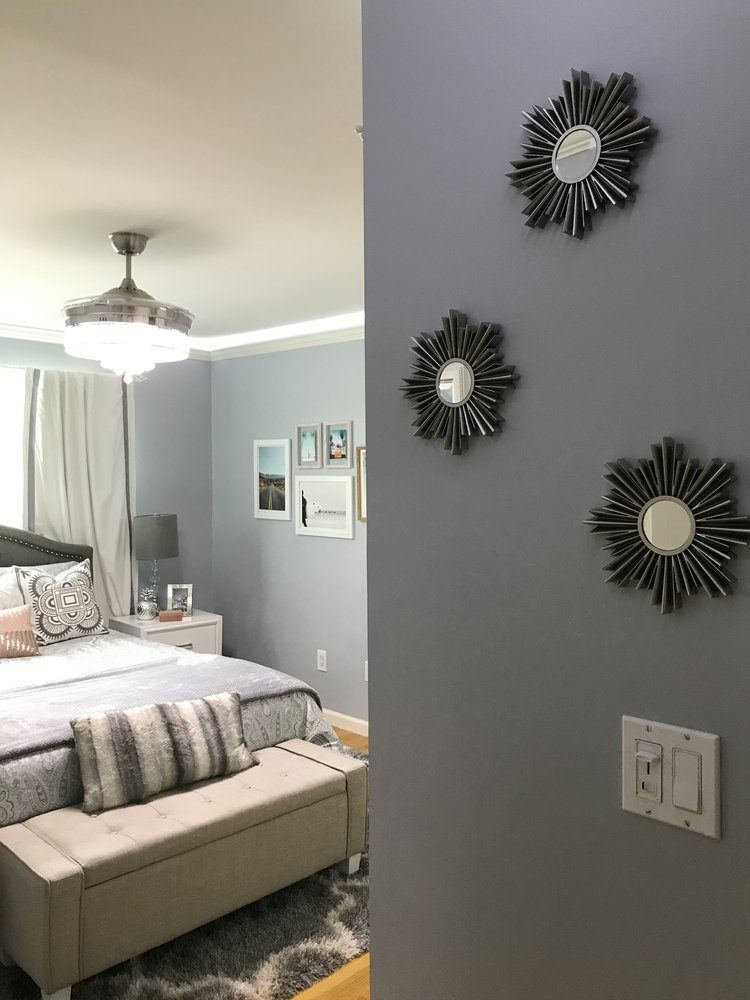
The capiz chandelier and floor lamps were replaced with a beautiful Fandolier with hidden blades from Amazon.
My daughter insisted on a fan and I wanted a chandelier so this was the perfect compromise.
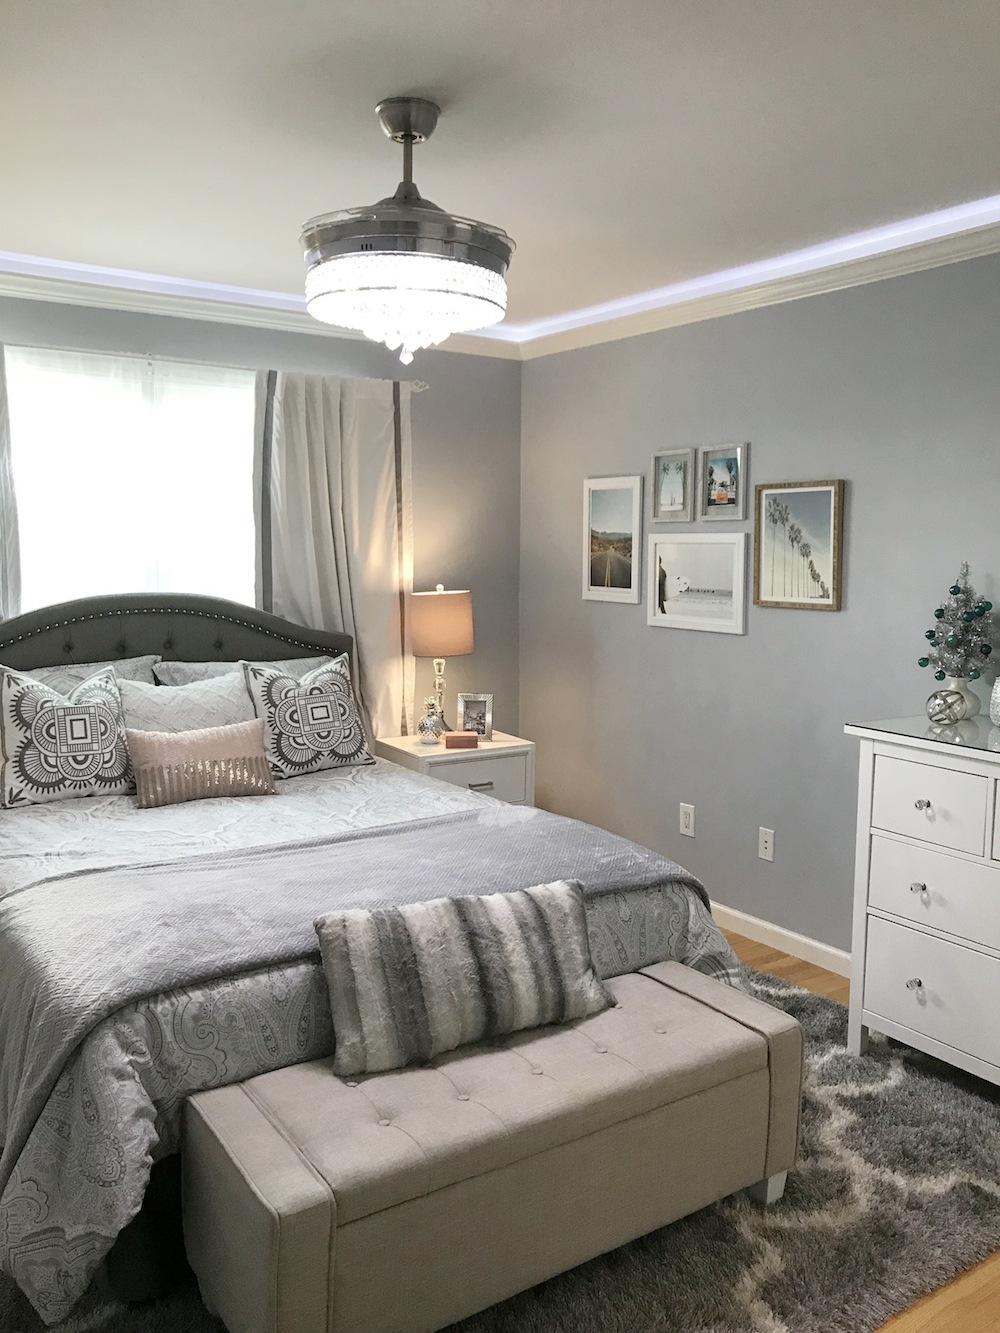
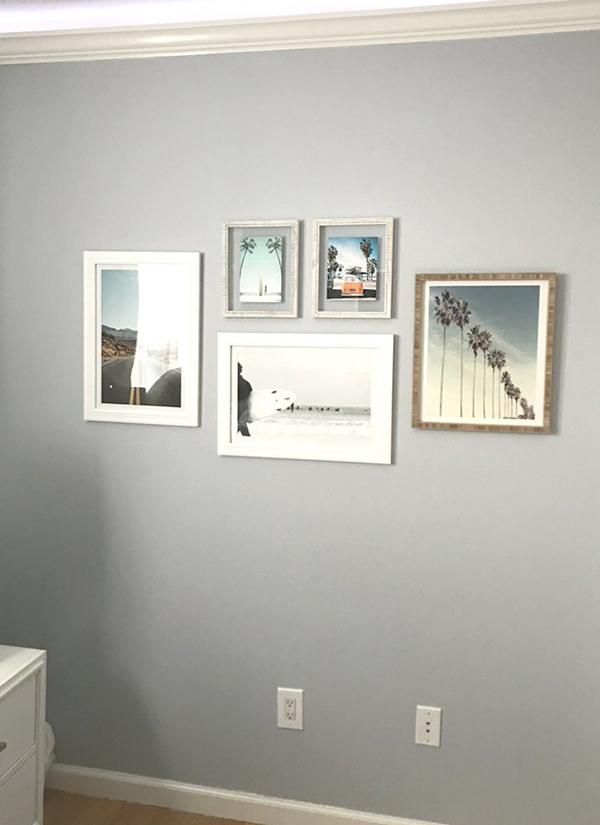
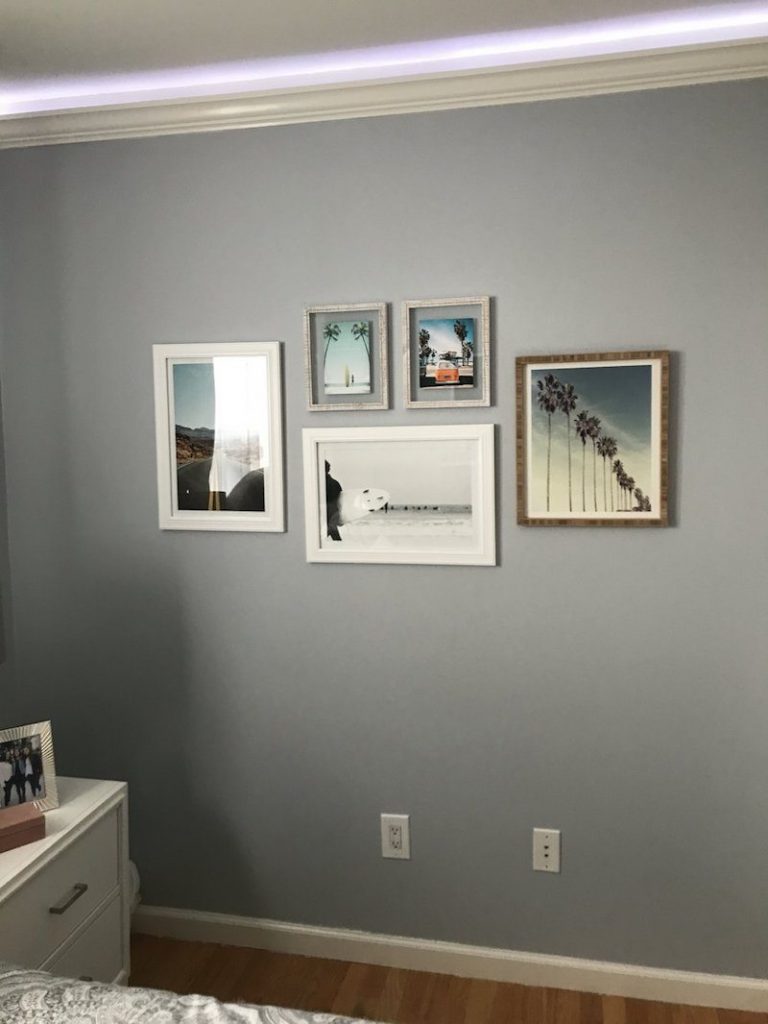
For the gallery wall, my daughter picked out prints from Wayfair, Society 6, and Deny prints. Only the Deny print came framed. The other frames and mats that I cut to size were purchased from Micheals.
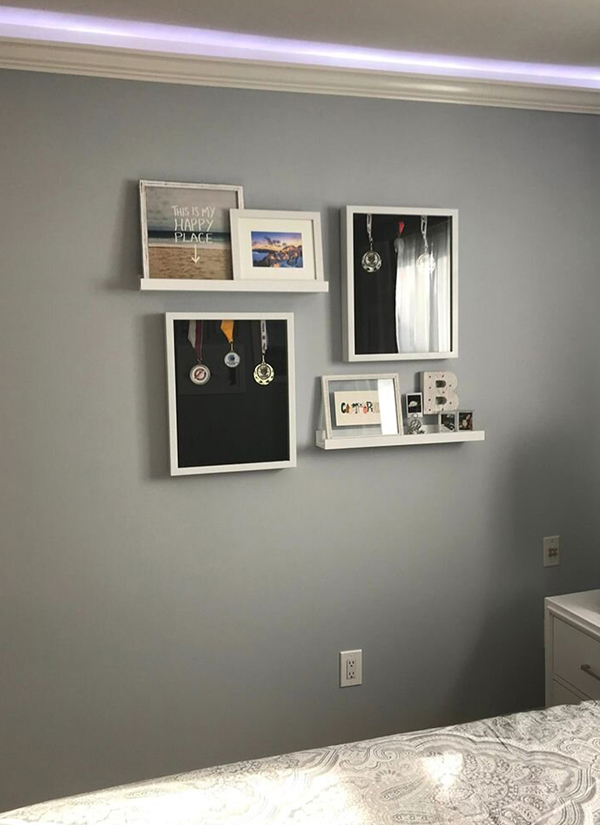
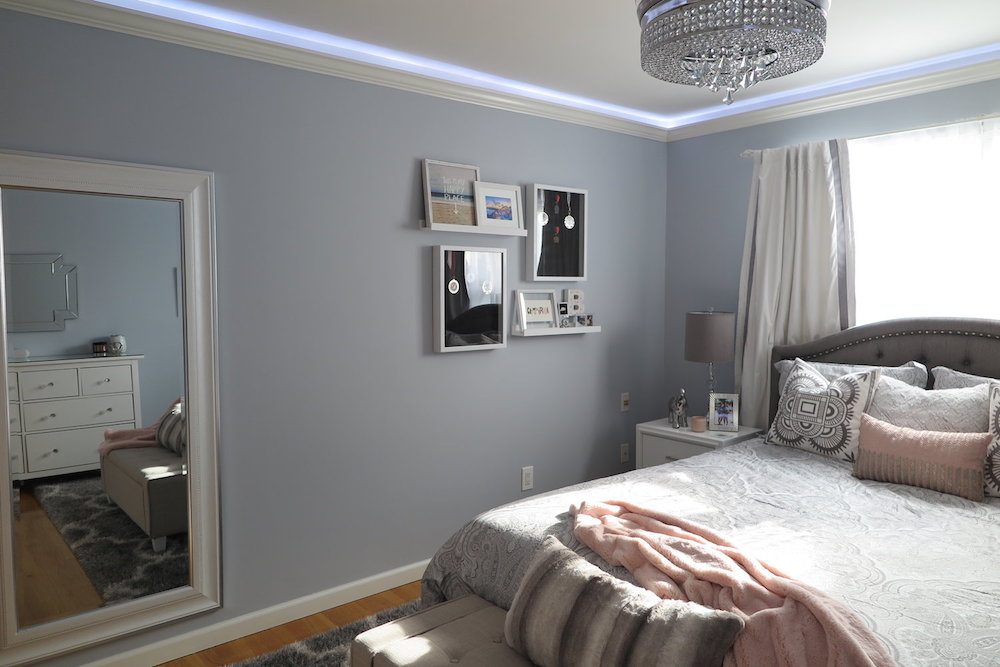
The shelving picture wall is a combination of shadow boxes from Micheals that I spray painted white. I wanted the shadow boxes with my daughter’s metals to be part of the gallery wall and the design was based around them. Those were arranged with the Target shelves and again pictures my daughter picked out with a California beach and Greece theme.
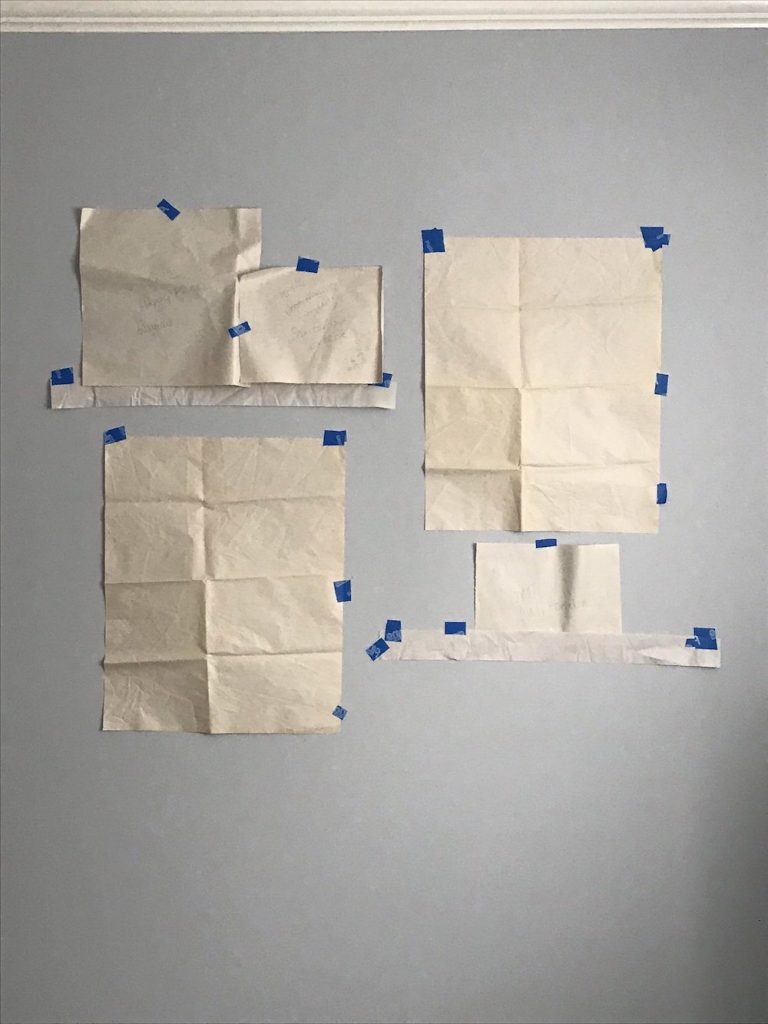
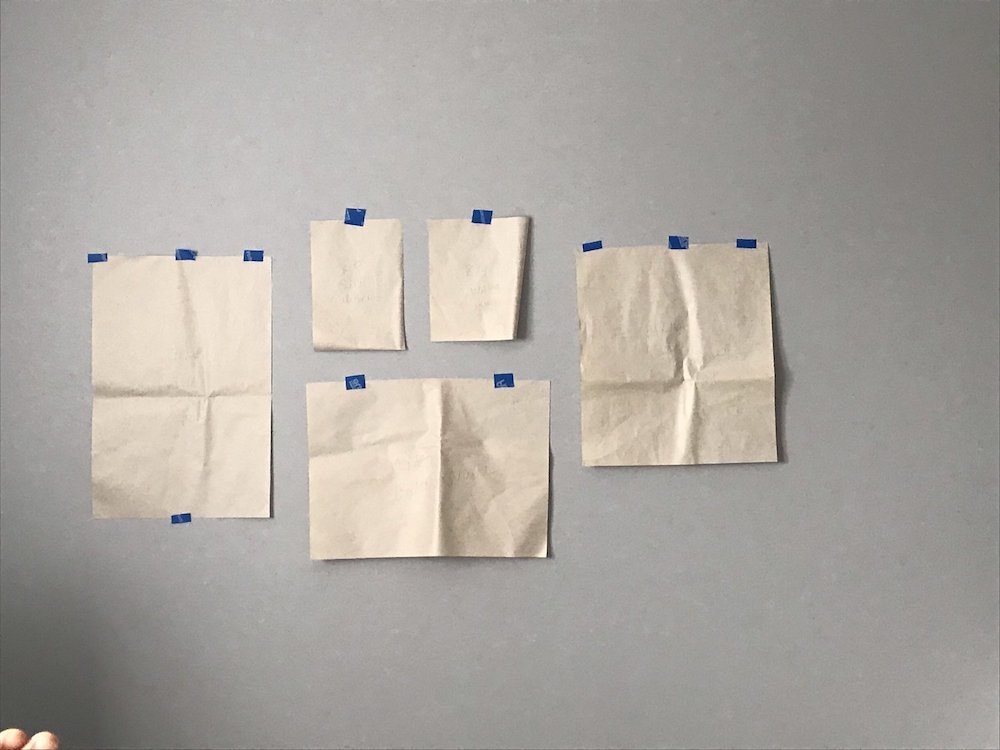
For both areas, I cut craft paper to size and taped them to the wall for a visual before ordering.
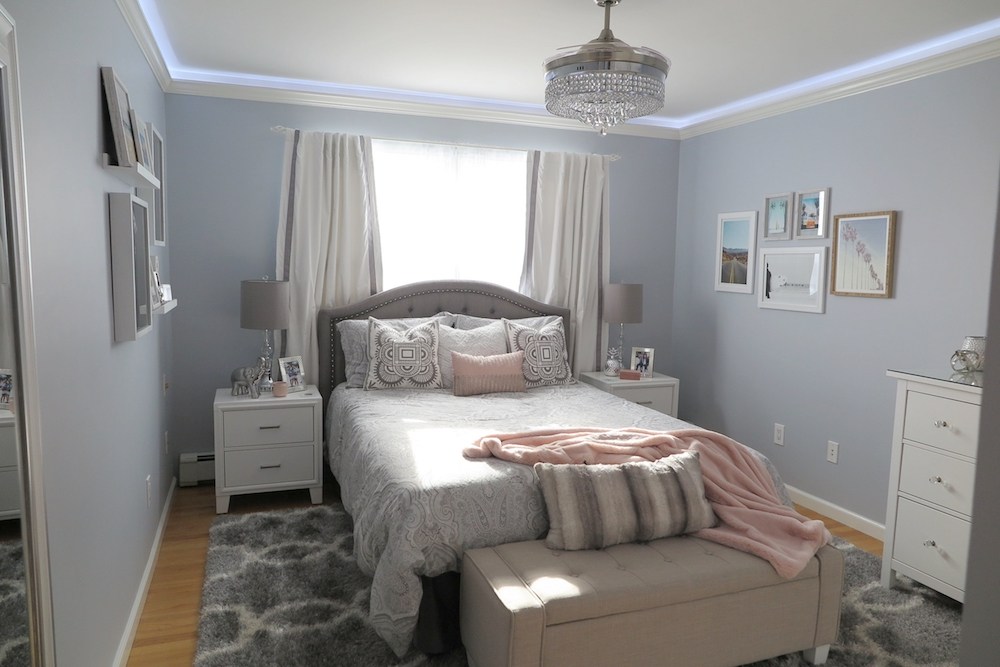
The end result was a room personalized to my daughter that she loves to be in!
Here are some more photos of the completed project (click to enlarge):
xo Nicole
For more shoppable designs check these out from my Like To Know It page.
Note: My blog periodically contains affiliate links meaning that if you make a purchase, I might make a small commission at no extra charge to you. Purchases made through them are greatly appreciated.







Leave a Reply