Yes, we have made it to week 4 of the One Room Challenge!
This week I share with you how to elevate Ikea drapery panels! I was originally eyeing panels from West Elm for this project but then while in Ikea for other things I checked out their selection. To my surprise, they had the LENDA Curtains with tie-backs in bleached white and those bad boys were $34.99 for the pair. This was amazing since they are 118” long and 55” wide! That said this week’s post is all about just that. Before I show you all things art here are the previous week’s posts so you can get caught up:
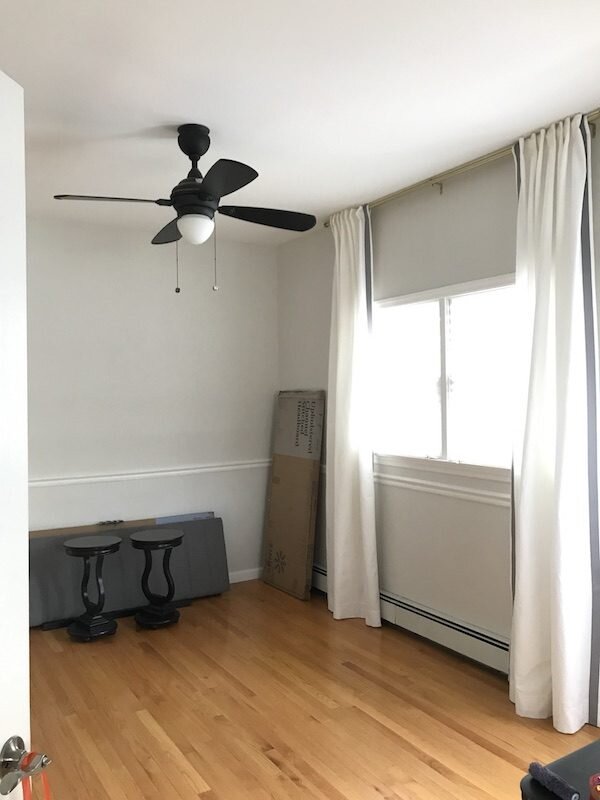
Here is what the panels would have looked as is.

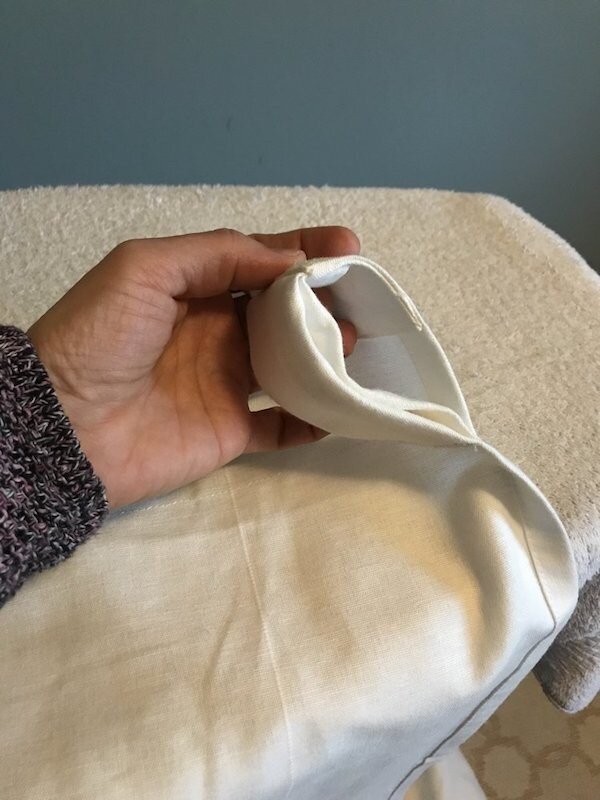
As you can see from the images below the panels had exposed tabs.

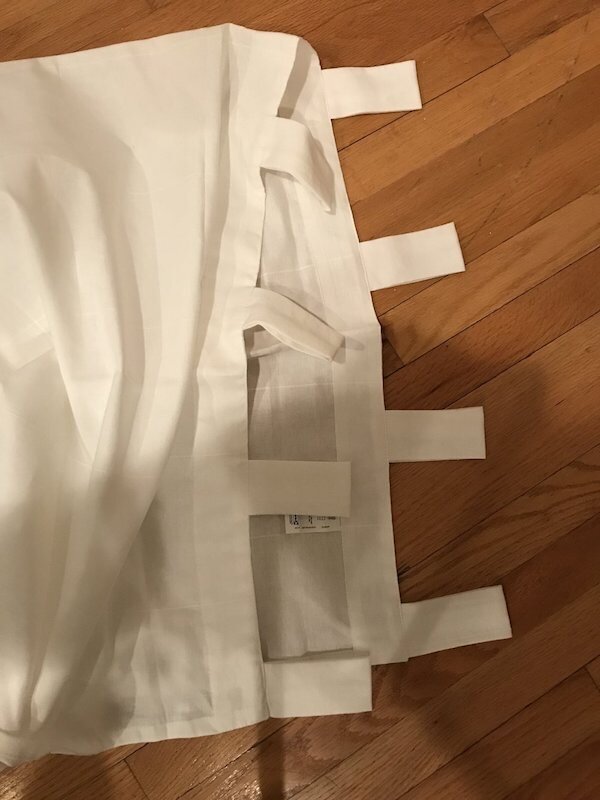
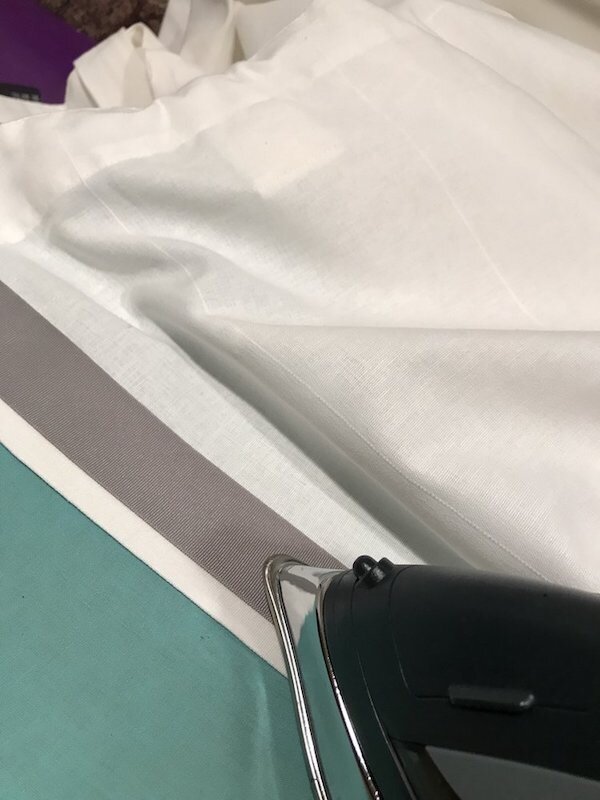
Since I wanted the tabs to be hidden the FIT Fashion Designer skills along with my sewing machine needed to come out! I first pressed the tabs back and then ironed them at the fold line pushing them slightly towards the backside. Using tape I placed a guideline on my sewing machine the distance from the top edge of the panels down to where I’d be sewing. This helped keep the stitch line even as I sewed across.


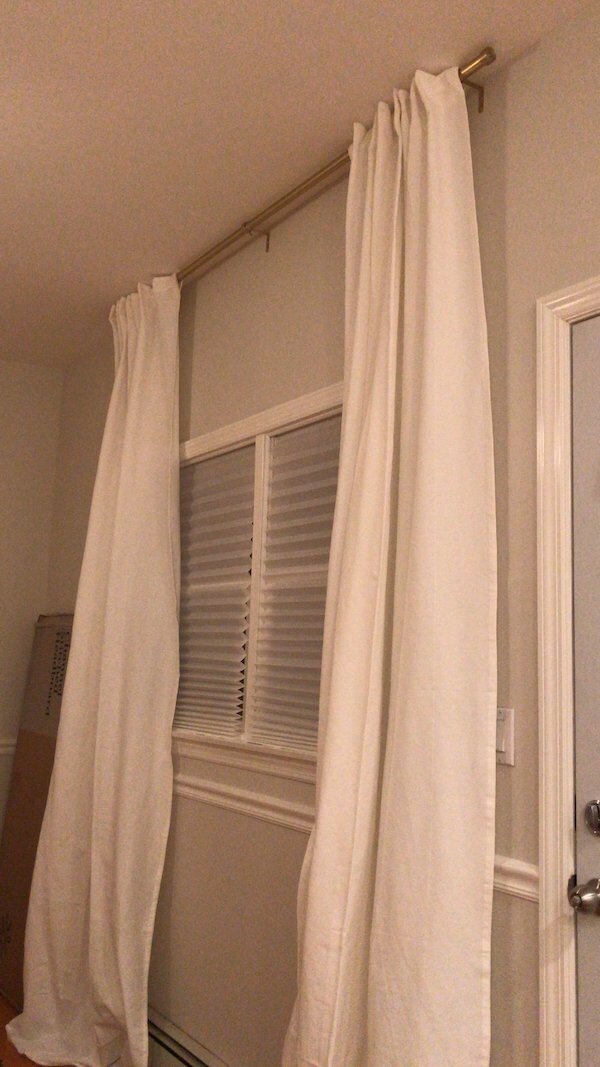
The panels were hung on the drapery rod which was purchased HERE. The rod was placed high up at the ceiling to carry the eye up and show off the 9’ ceiling height. I hem drapes the same way I hem a dress. I’m sure the professionals have a better method which is why for client projects I will leave the window treatments to the workroom! Once the panels were up on the rod I pinned across the bottom the length so the hem just grazed the floor. I turned it back pressed a 1/2 clean finished edge and hemmed the panels up 3 1/2” up from the bottom edge.
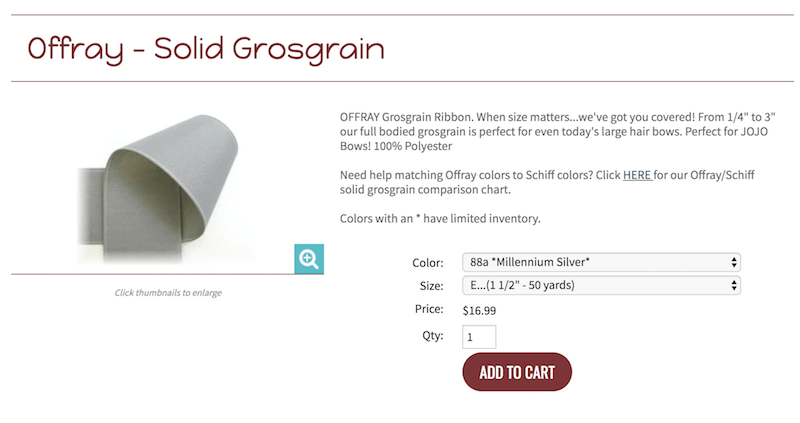
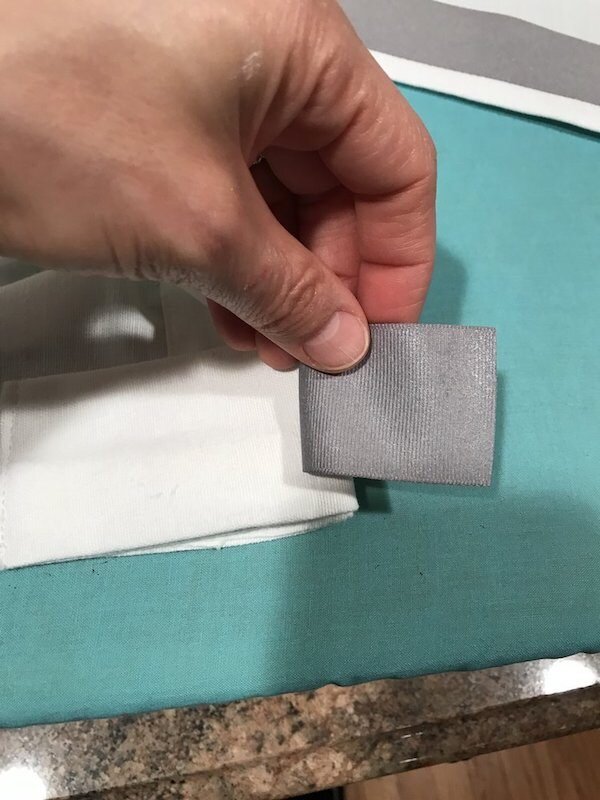
Next, I wanted to add a gray grosgrain ribbon border at the sides of the panels. I had this ribbon already but here is the link to purchase it as well. For those who may not know for a while, I made cheer bows for my daughter and other teams so these skills came from that little hobby side business I had.
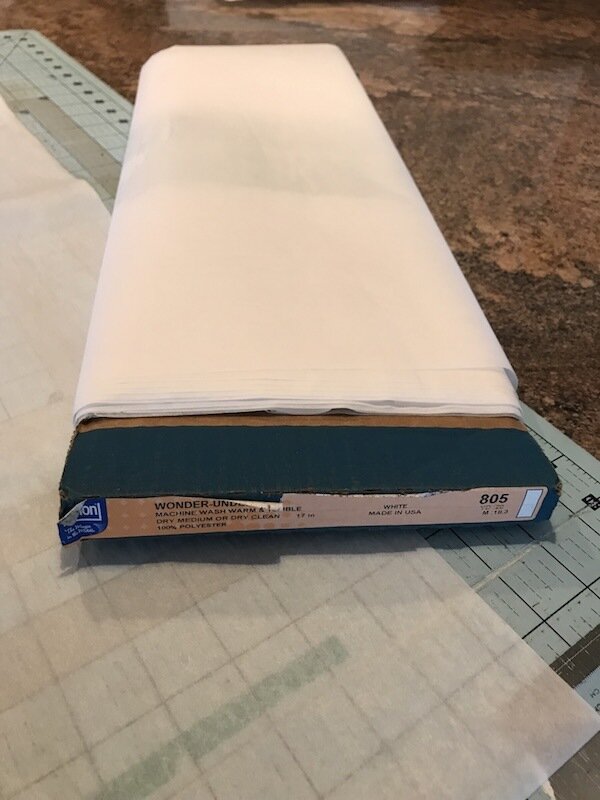
To attach the ribbon to the panels I used Wonder Under 805 heat and bond material.
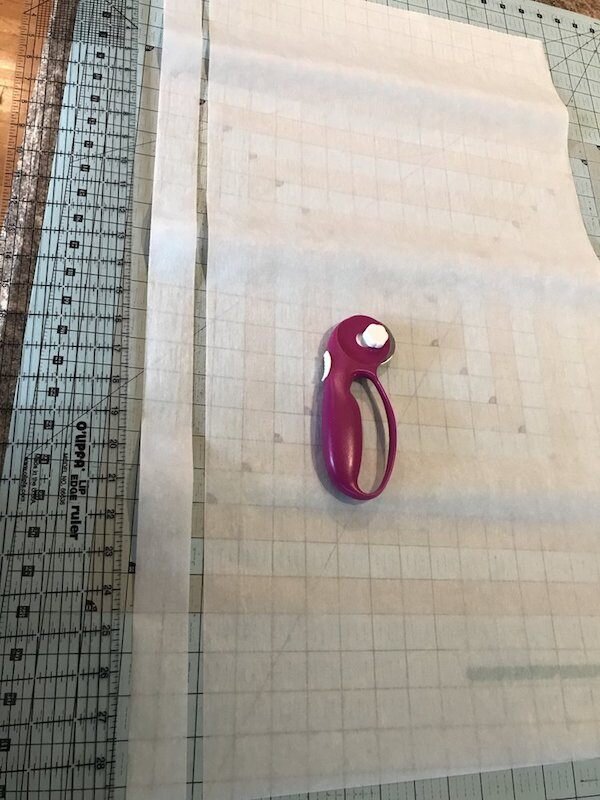
I cut the width to about 30” and then cut strips just under 1 1/4” wide which was the width of the ribbon.


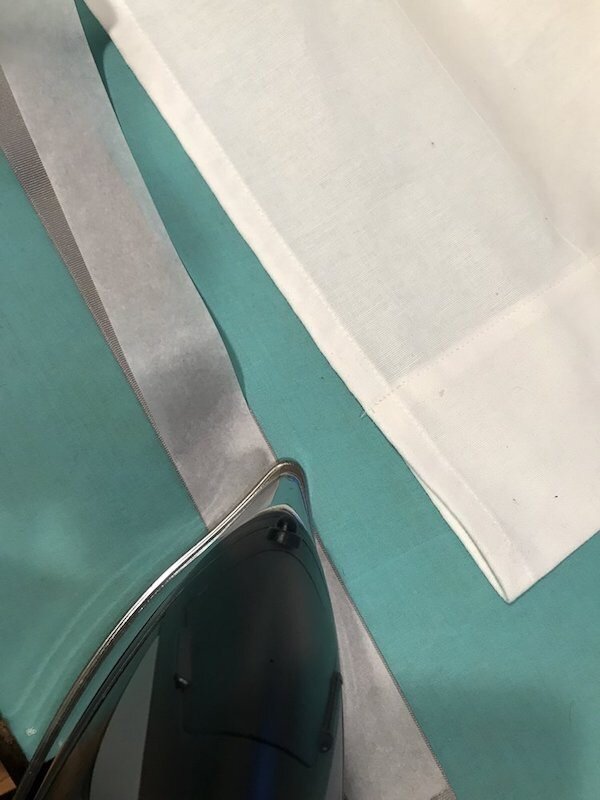
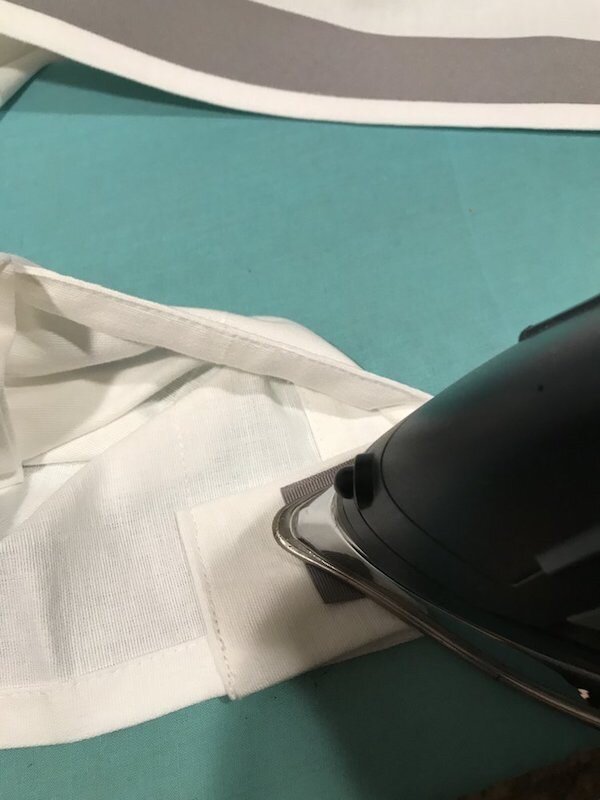
The strips of heat and bond were then ironed onto the ribbon and the backing was peeled off. I then pressed the ribbon to the panels using the side stitch lines as a guide placing the ribbon just over the edge of the stitch line.

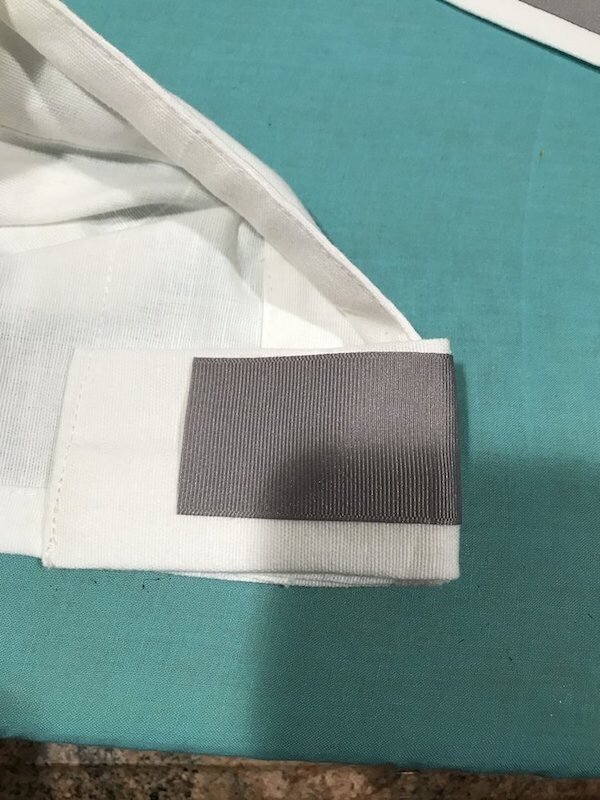
The ribbon was cut and burned with a lighter to seal the polyester edge and pressed down at the backside of the panels as shown.
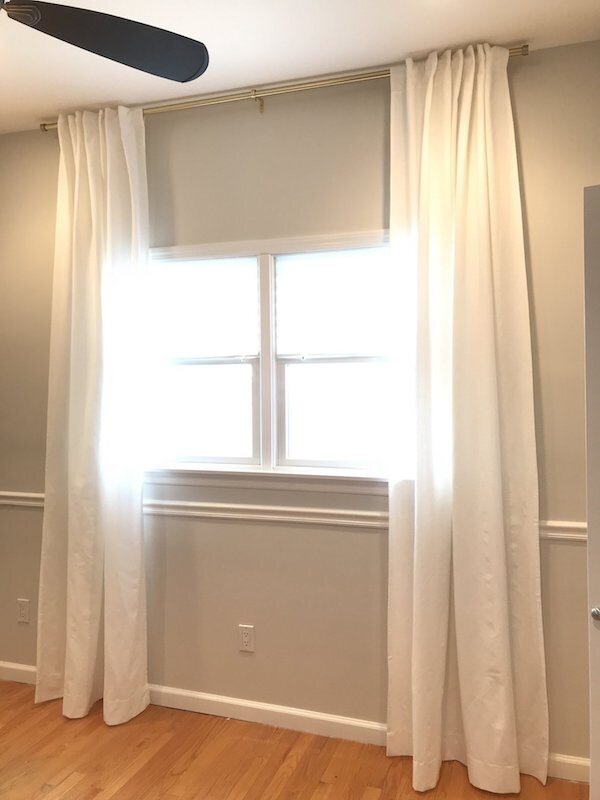
Below are the finish panels with the ribbon attached. I’m so in LOVE with how they came out!
While I was at a NYC chapter IDS event at the Shade Store I won a gift certificate for $500.
I later visited the Garden City store where Liz was super helpful and knowledgeable! She informed me that the most popular shades right now are roller shades since designers like Nate Berkus, Alexa Hampton, and Jonathan Adler all have licensing deals with the Shade Store are using them.
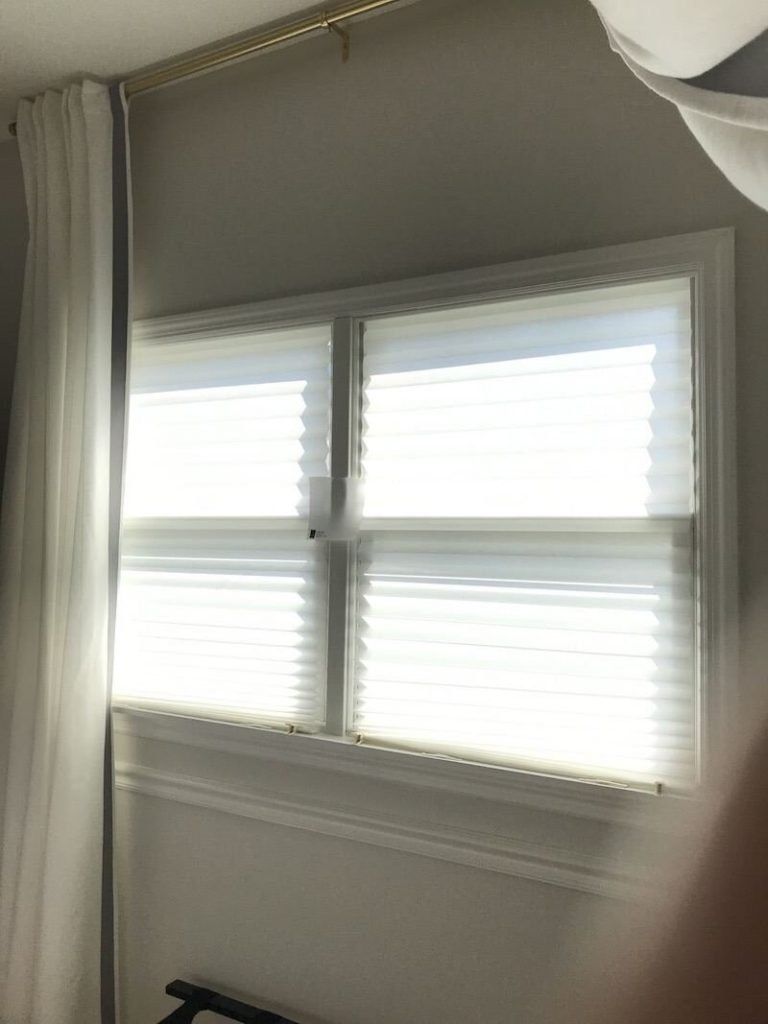
Roman shades are next and then the new Double Roller shades which are shown below. Liz let me know, unlike the Hunter Douglas Silhouette shades bugs do not get caught in between the folds of the new double roller shade design.
For my selection, I went with the Rosette pattern in the light filtering roller shades which are in the lowest price point since this is for an Airbnb and we are trying to keep the costs down for this project. I did not just want solid shades so this subtle pattern worked out perfectly.
The whole process of ordering was very easy and took only about two weeks from start to finish. The Shade Store also has draws full of complimentary fabric swatches and finishes so designers should definitely check them out for future projects.
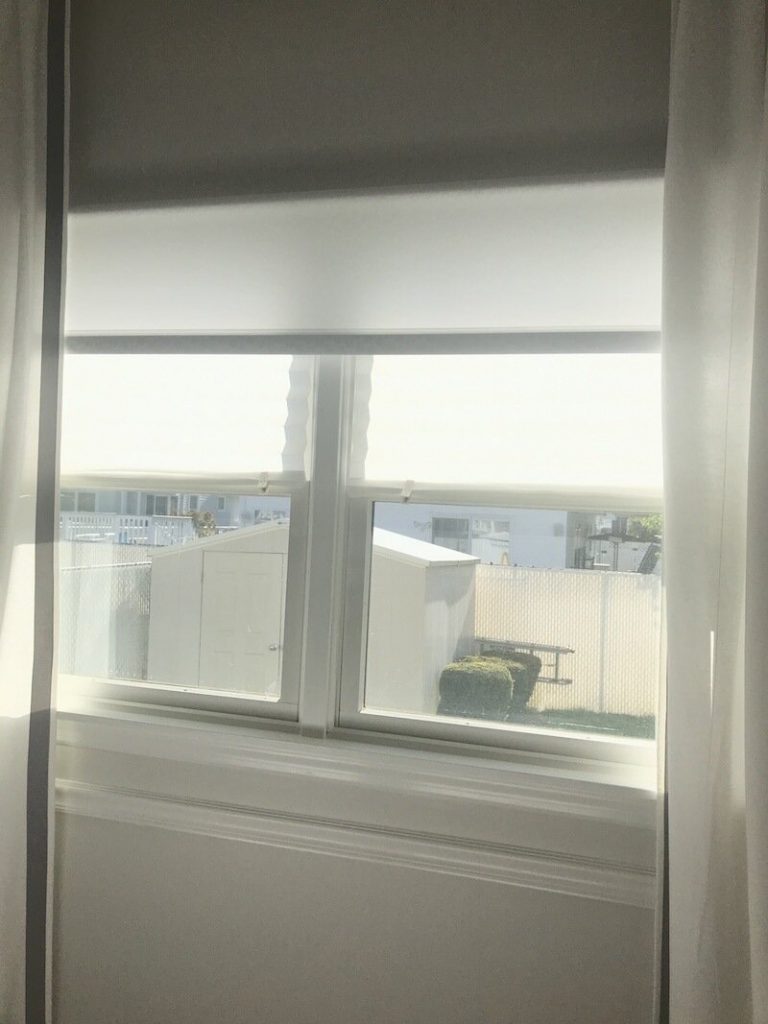
As you can see from this image prior to ordering the roller shades I had temporary peel and stick blinds from Ikea.

When the installer came for my free measurements I asked him how to install the shades since I would be doing it myself. He let me know that he measured from the edge of the molding since the panels would cover the brackets and that way I would hit wood when attaching the brackets to the wall. He was right and the brackets were really easy to install. Once up the roller shades just popped right in. If I did not have the panels covering the sides of the shades he would have measured so the shades just covered the molding. They would then need to be installed with mollies/ anchors. If you are not handy the Shade Store does have an installation team to install the shades for a minimal added cost.
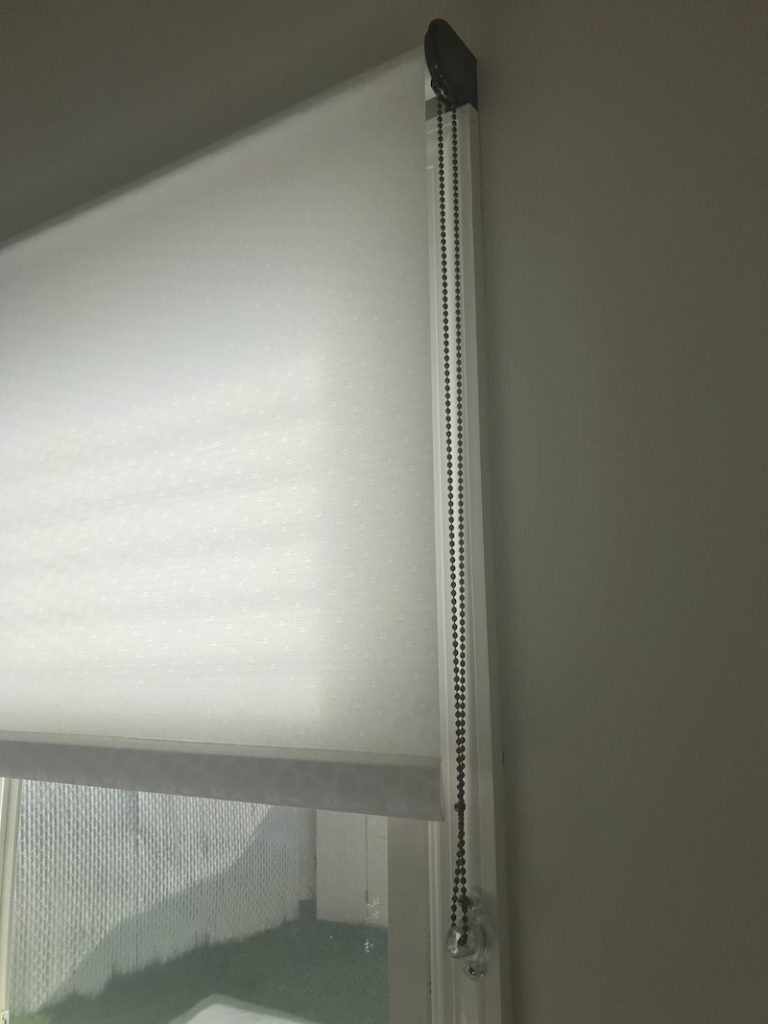
The roller mechanism was then attached to the molding as shown.

Since the room is pretty sunny I decided to keep the temporary shades behind the roller shades in case guests want to sleep in. I may eventually take them down but for now, keeping them up. You can see the difference in the above pictures.
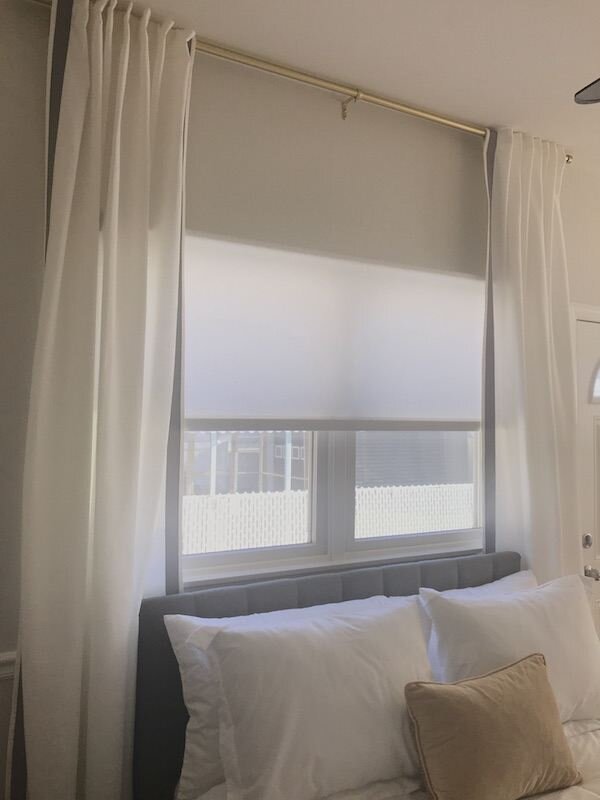
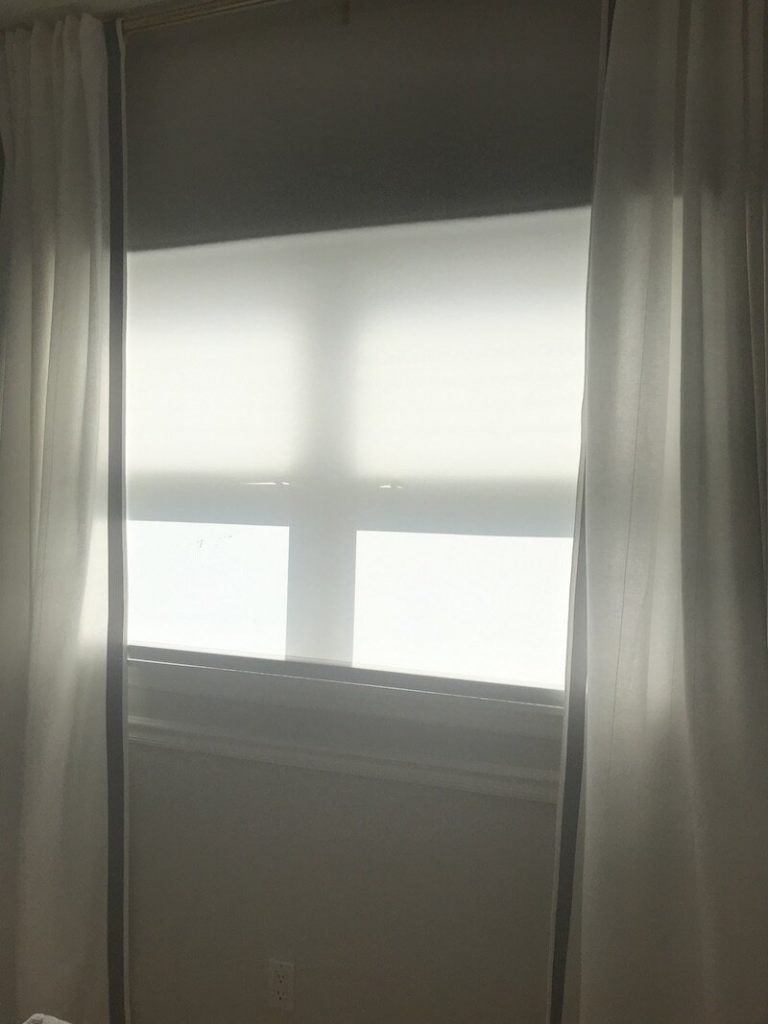
Here is what the final window treatments look like complete.
They came out great and I’m super happy with the results.
That’s it for this weeks update on the One Room Challenge update. As mentioned previously don’t forget to check out the other amazingly talented Featured Designers and guest participants here, as they transform their spaces.
At Home With Ashley | Casey Keasler | Dorsey Designs | The Farmhouse Project | Home Made by Carmona
House of Funk | House of Jade Interiors | House Seven Design | House That Lars Built | Inspired by Charm
Jana Bek | Jessica Brigham | Kelly Golightly | Murphy Design | The Pink Pagoda | Sarah Gunn
Sherry Hart Designs | Sugar & Cloth | Veronica Solomon | Vintage Revivals | Media BH&G | TM by ORC
Hopefully, this post will give you a bit of inspiration for your next project. DON’T BE ORDINARY or afraid to step outside your comfort zone!
Please comment and share this blog post with anyone you think will enjoy it! #sharingiscaring
As always please continue to follow the journey through our Instagram Stories and Facebook updates where we will continue to share behind the scene videos and findings.
Have an Inspired weekend everyone!
xo Nicole
#beinspired
Note: My blog periodically contains affiliate links meaning that if you make a purchase, I might make a small commission at no extra charge to you. Purchases made through them are greatly appreciated.


Hi Nicola:
You are doing such a great job in showing us all how to customize on a budget. And I never thought about bugs getting caught in between the folds of a shade. Yikes! That is so important to realize if you have an indoor/outdoor living room.
Thank you for this in depth tutorial on your new window treatments. Nice job!!
Thank you so much, Leslie! Yes, I was surprised when Elisabeth shared the info about the silhouettes and bugs as well.
A real diy girl after my own heart. I love following along with these One Room Challenges. The thrill is in the unfolding.
Yes DIY at heart for sure. Thank you for following : )) xoNicole
Making ready made panels into something custom to the room is an easy way (if you’re handy) to elevate and personalize a space. Great job! And the shades look great too!
Thank you so much! Yes love the shades too : )) xoNicole
Such great ideas for those wanting a custom look on a budget! I’m really enjoying following along.
Thank you so much for your kind words : )) xoNicole
Thanks for sharing the tutorial! Great info!
Welcome! Thank you for reading and your comment : ) xoNicole
I have zero sewing skills so I give you full props for making those great changes to the drapery. I can’t wait to see the full reveal in a couple of weeks!
Thank you so much Sheri! xoNicole
Great ideas for budget friendly draperies!
Thank you for reading and commenting! xoNicole
It’s looking great, Nicole! Great tips for customizing ready made panels!
Thank you so much Janet! xoNicole
Looking so good! Awesome tips — thank you so much for sharing!
Thank you so much for following along. xoNicole
Wow, I love the the tutorial and the transformation! Great post, i saved to my favorites!
Thank you so much! So glad you enjoyed it : )) xoNicole